Hari Raya Holiday (no class) - rewatch lecture recording from Tuesday's class
to understand Task 3A.
After watching the lecture & reading the brief, I was fairly clear on
what I should do for this Task:
-
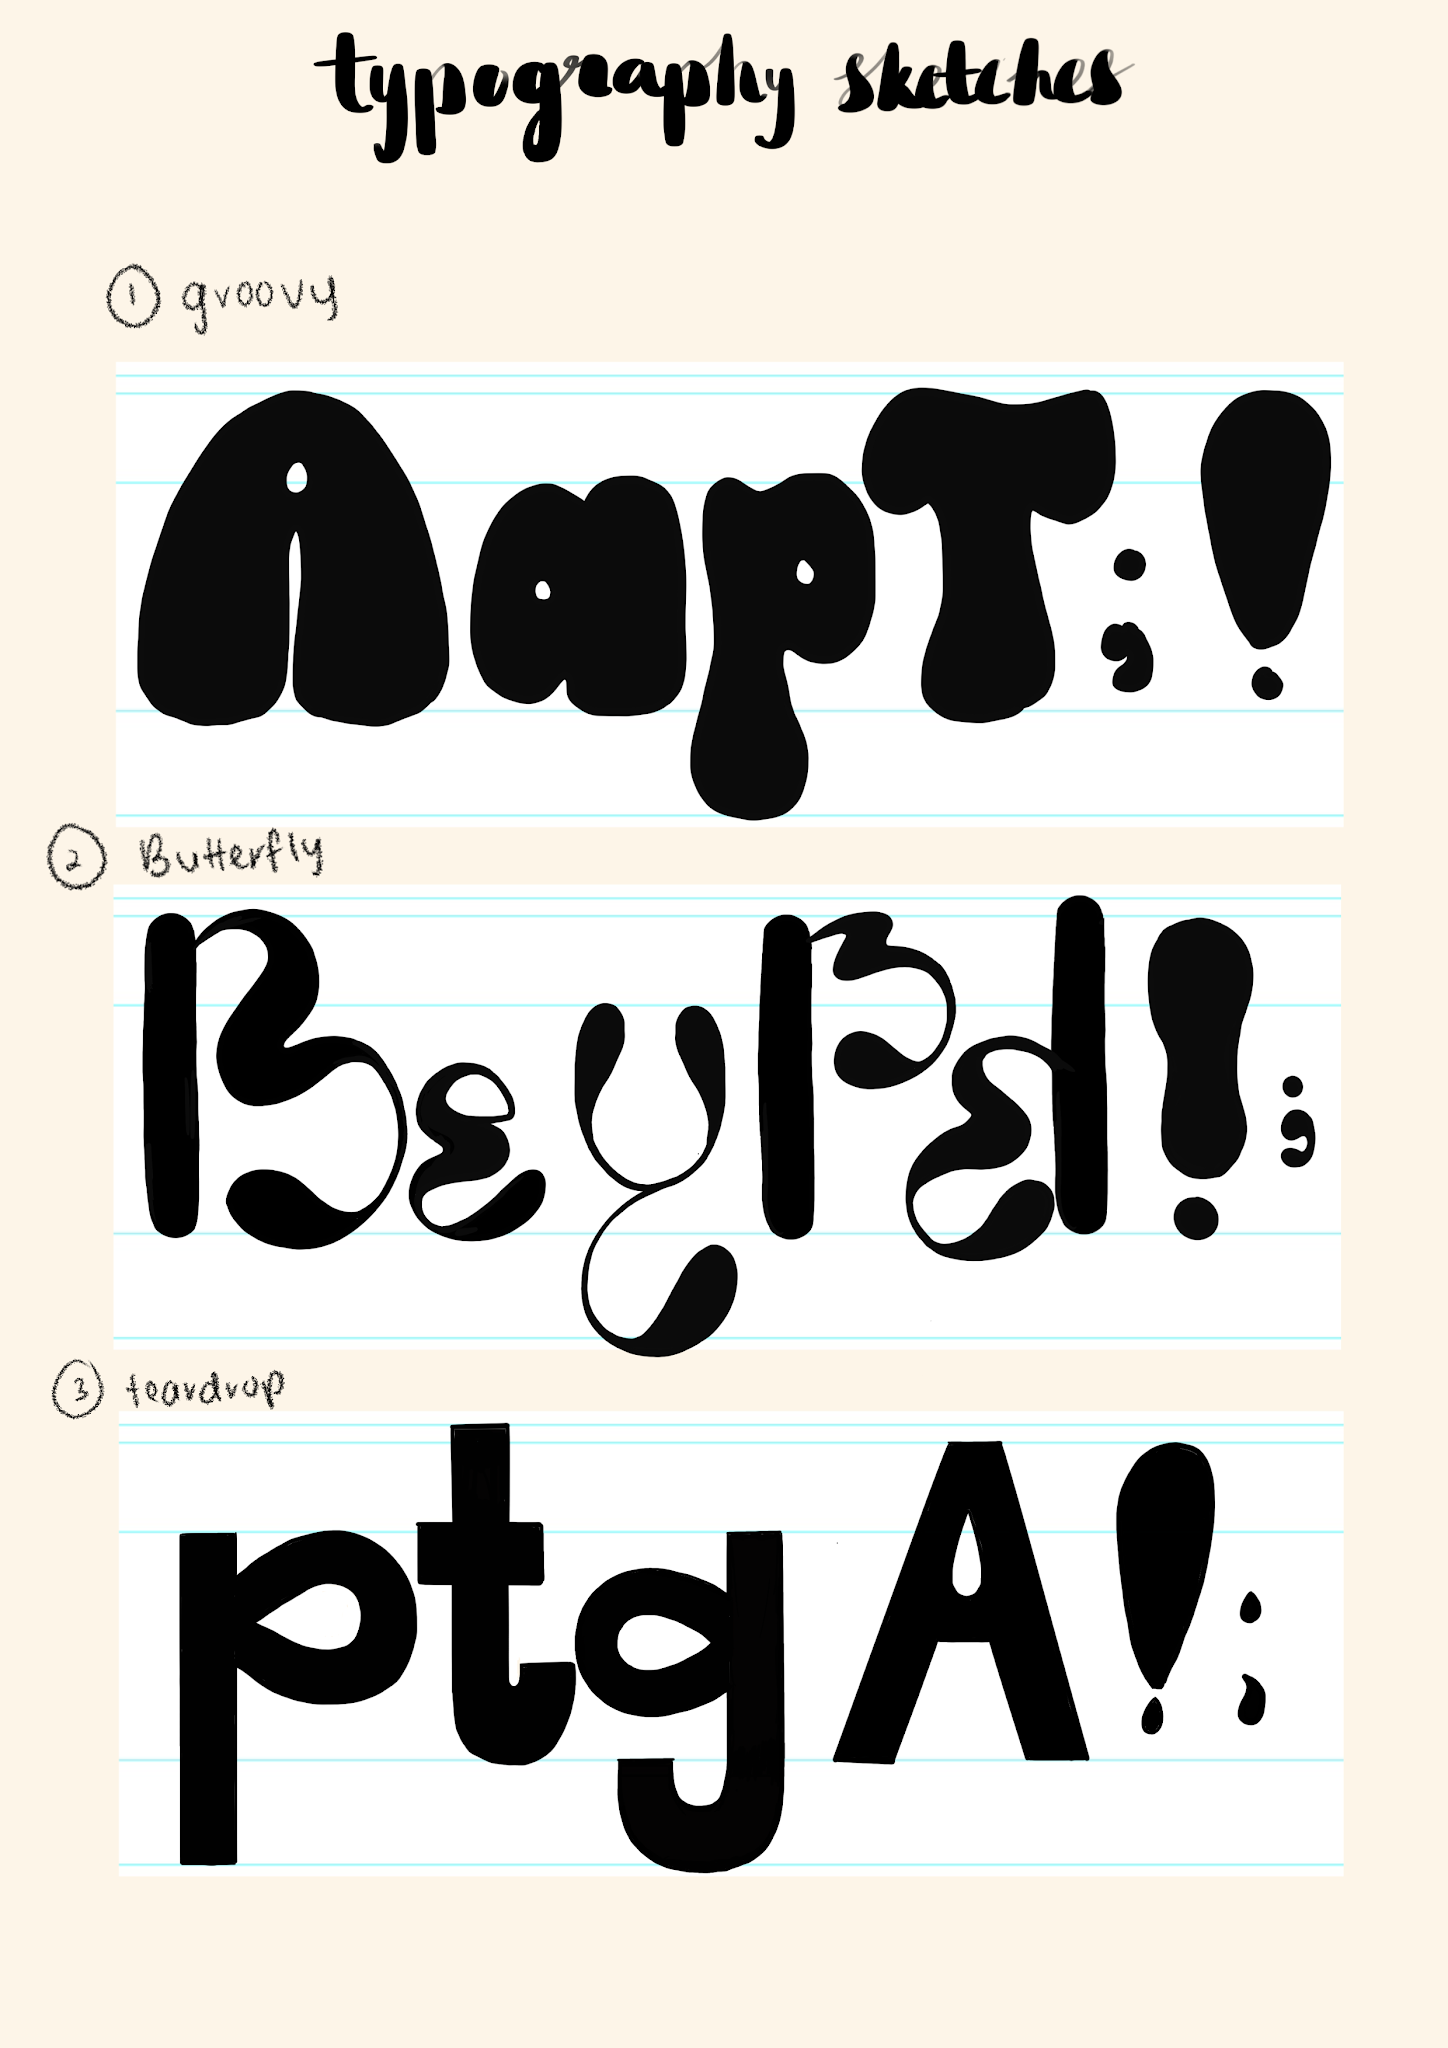
Design: a i m e p y t g d o b ! , .
-
Research on typefaces.
-
Sketch out our own variant letterforms.
-
Have about 5-10 sketches then identify 2-3 of them we like.
-
Cross reference w the 10 typefaces we already have to see which is
the closest. Use them as reference to deconstruct.
-
Deconstruct three letters of the chosen typeface out of the 10
typefaces.
-
Once we have the basis of understand, begin the construction of our
own letterforms.
-
File > new > art board: (points) 1000x1000 > create >
shift O > opt drag to the top then extent into a rectangular art
board to design our own typefaces > when deconstructing, only
shift O + opt drag to have three art boards.
-
Remember that the X Height must be 500 points. Create a rectangle
by clicking once > enter 500 by 500 > make sure the words fit
into the box by clicking transform > bottom box. Make sure the
type is changed to outline and turn on the rulers cmd + R to have
ruler grids/guides according to the box.
-
Draw guides according to the descenders, cap, ascenders,
mean/median and baselines.
-
Make sure the ascender and descender lines are within the 1000m art
board.
-
Pathfinder to unite the shapes when drawn.
-
Change to wire form to see cleanliness of glyphs.
It honestly seem like a big chunk so I did procrastinate for a bit as it
was the holidays before starting. I had to rewatch the recording another
time to make sure these steps were correct.
Week 8:

Fig. 8
Grid Lines According to the Recording // 21st May 2021
Learning through the slides is much different when actually using the
grids. It got quite confusing but as I slowed down and name them as I went
along, it made sense. Once this template was done, I immediately got
started on my research and sketches:
Fig. 8.2
Source: Pinterest (Kristian Allen Larsen) // 21st May 2021
Fig. 8.3
Source: Pinterest (Cristian Vargas) // 21st May 2021
Fig. 8.4
Source: Pinterest (Mirna Pierre) // 21st May 2021
I really liked these few as they have some sort of movement
within each of the letters despite them being separate. I tried
not to think too complicated as it will be difficult to form the
letters on Illustrator. Here are the sketches, including the
ones I have chosen that has been drawn in the template:
Fig. 8.5
Chosen Sketches (Submission #1) // 21st May 2021
Now, I am just wrecking my head on which typeface that would fit these
designs the most and how do I deconstruct the chosen typefaces. Out of all
10 of them, I was thinking of Bodoni as it looks the closest to most
of my sketches:
Fig. 8.6
Deconstruction of Bodoni letters // 21st May 2021
Week 9:
After receiving Mr Vinod's comments, he and Mr Shamsul gave us about an hour
or so to start or continue our digitisation. This was what I had so far:
Fig. 9
Digitisation of Butterfly Typeface // 28th May 2021
I am still in the midst of changing the loops of 'y' & 'g'. Might want
to change 'o' as well as it looked better in my sketch. Now it just looks
like a weird melon pear hybrid. The 't' may look a bit odd as well.
Ultimately, I want this typeface to incorporate aspects of the Butterfly
wings in each letter if possible. For this, the only shape I used
was for the stem where I then curve the edges back in. The rest is
formed using strokes of the pen.
Here are some progress pictures of me tweaking and tracing using the
existing shapes:
Fig. 9.2
Digitisation of Butterfly Typeface // 28th May 2021
Fig. 9.3
Digitisation of Butterfly Typeface // 28th May 2021
Fig. 9.4
Digitisation of Butterfly Typeface // 28th May 2021
Realised that the sausage-like looking stem looked awkward so I added a
nice terminal to all of them which I think looks better.
Fig. 9.5
Digitisation of Butterfly Typeface // 28th May 2021
Compared the sizes of the terminal to make them as equal as possible.
Fig. 9.6
Digitisation of Butterfly Typeface // 28th May 2021
I attempted to fix the letter 'o' as I felt that it could be done
better. There was no incorporation of the butterfly wings so I tried
adding that and rotating it. I ended up fixing the letter 'e'
instead.
Fig. 9.7
Digitisation of Butterfly Typeface 'o' // 28th May 2021
Fig. 9.8
Digitisation of Butterfly Typeface 'o' // 28th May 2021
Fig. 9.9
Digitisation of Butterfly Typeface 'e' // 28th May 2021
Fig. 9.10
With & without dots // 28th May 2021
I noticed the original Butterfly typeface lacked an element of some kind
then I went to google images of butterfly wings and noticed further the
intricacies of butterfly wings:

Fig. 9.11
Butterfly // 28th May 2021
They have little dots and lace-like features and so I experimented with my
typeface by adding dots. The dots definitely added a subtle touch to the
typeface and it makes it easier for the punctuations as well.
Fig. 9.12
Struggles // 28th May 2021
'g' & 'y' were the ones I struggled the most with. The top is after
while the bottom is before. I asked for opinions from my friends and they
said that the circular 'g' with the terminal is better compared to the
rest. After that, I just extended the tail and it looked much better. They
also mentioned how 'a', 'b', & 'd' looked almost identical. All I did
was make the top curve of 'a' smaller as I think 'b' & 'd' is pretty
distinguishable due to the stem positioning.
Fig. 9.13
Wireframes // 28th May 2021
Once I am satisfied, I started on the wireframes. Not before making a
backup before uniting the shapes/strokes of course which turned out to be
a good decision as I noticed some more tweaks I had to change.
I noticed some other awkward parts and tried tweaking them:
Fig. 9.14
Individual letters // 28th May 2021
I know we are supposed to reach the x-height but I find these letters so
weird once they do. They looked too big amongst the rest of the letters.
The bottom ones are the reduced sizes. Not sure if I should stick with the
bottom ones or the original.
Fig. 9.15
Double checking the heights // 28th May 2021
This is the outcome for both versions of the typeface
(original) :
Fig. 9.16
Original Butterfly Typeface // 28th May 2021
This is the outcome for both versions of the typeface
(size reduced: o, a, e, g & y) :
Fig. 9.17
Size reduced Butterfly Typeface // 28th May 2021
I think I will go for the
original dotted typeface which is the
first Butterfly typeface variation.
Week 10:
Feedback can be found in the feedback section.
After listening to the feedback, I made the necessary changes to the
punctuations and the strokes:
Fig. 10
Stroke & Punctuation Changes // 4th June 2021
I kept the strokes for the stem b, p, & d as they are the same as t. I
took the same strokes to create the thickness for the t. Thus, followed the
same for m, a, i and the punctuations.
This is the final outcome before importing to Font Lab:
Fig. 10.2
Illustrator baseline of Butterfly (Submission #2) // 4th June 2021
Next: Importing them to Font Lab
I encountered some problems while importing which Mr Vinod and Mr Shamsul
helped resovled.
Fig. 10.2
Before kerning // 4th June 2021
Fig. 10.3
After kerning // 4th June 2021
Fig. 10.4 to Fig. 10.5
Kerning values (Submission #3) // 4th June 2021
Once I am satisfied with the kerning and spacing, I immediately got started
with the poster to showcase my typeface. As my typeface is quite
complicated, I wanted a clean but sophisticated look that fully showcase the
beautiful complexity of Butterfly. I created two:
Fig. 10.4
Poster 1 // 4th June 2021
Fig. 10.5
Poster 2 // 4th June 2021
I prefer the second poster as it is very different. Despite the
complexity of the typeface, it comes together well but it looks like a
clump. So I changed the sizes to create visual hierarchy:
Fig. 10.5
Poster 2 (Submission #4) // 4th June 2021
TASK 3A SUBMISSIONS:
Fig. 1
Chosen Sketches (Submission #1) // 21st May 2021
Fig. 2
Illustrator baseline of Butterfly (Submission #2) // 4th June 2021
Fig. 3 & 4
Kerning values (Submission #3) // 4th June 2021
Fig. 5
Poster 2 (Submission #4) // 4th June 2021
Fig. 6
Compilation of submissions PDF // 4th June 2021
FEEDBACK
Week 9:
Mr Vinod said there was a good sense of direction. Number 2 (Butterfly)
is good and very expressive. Quite challenging but he said I seemed to
be handling it well. He said to continue with number 2. Work on
punctuation - follow the letter strokes. The comma and full stop needs
to be larger.
Peer Feedback: They said that the circular 'g' with the terminal is
better compared to the rest. After that, I just extended the tail and it
looked much better. They also mentioned how 'a', 'b', & 'd' looked
almost identical. All I did was make the top curve of 'a' smaller as I
think 'b' & 'd' is pretty distinguishable due to the stem
positioning.
Week 10:
Mr Vinod and Mr Shamsul seemed pretty impressed with my work so far which
is great! He told me that I should keep the original size, the o is not as
wide as I thought it was and I need to work on the punctuations - stroke
and dot needs to be further apart while the comma needs to be turned
upside down and the period needs to be bigger. Furthermore, it is up to me
to decide whether or not my thickness of the stroke should be the same for
all as Butterfly is a relatively complicated typeface.
REFLECTIONS
Task 3A
Experience: In all honesty, it was super fun. Out of all the
assignments so far, this was my favourite as I get to explore and be
creative however much I like. It was really eye-opening as well as I
expected a much more difficult process when creating fonts. With the video
guidance and feedback from both peer and my lecturers, it helped ease the
process and helped me think from a user's point of view.
Observation: I really admire my friends' works. The majority of my
classmates are really talented and their works have pushed me to be on
their level or closer. While building my fonts, I realised deconstructing
the existing typefaces that look similar to mine helped me visualise my
typeface better. I was able to understand the detailing and possible
reasoning behind having these details. Be it the terminal or tail.
Findings: I found that I enjoy creating fonts and I might
pursue that on my own in the future. This project has taught me to really
understand the user's readability better as at times, a designer may not
see their mistakes objectively.
FURTHER READING
Fig. 1
Further Reading
For the time span of this assignment, I mainly read through this
e-book:


Comments
Post a Comment